
Computing
How to create a PDF (Adobe Portable Document Format) file on the PWF
Introduction
This document describes how to create a PDF version of a document using tools available on the PWF. It works for most applications. You can always obtain the latest version of this document from: http://www.arch.cam.ac.uk/comp/ac048/
There are two steps to creating a PDF.
- Create a PostScript file containing your document
- Convert the PostScript file to a PDF
In the example that follows I have a Word document called test-document.doc which contains some text, an image, and an Excel chart. Open your document in the application that created it:
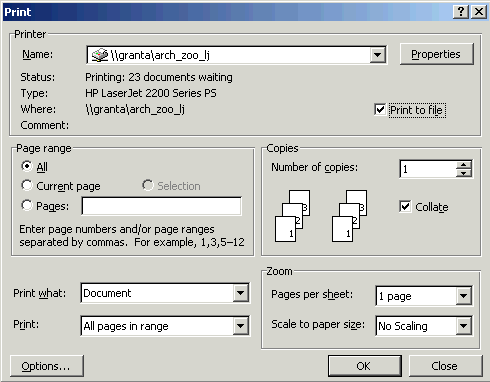
We can create a PostScript file using a PostScript printer driver. Go to the File menu and choose Print:

Note: this method does not involve actually printing anything and therefore will not cost you anything. The printer you use must be a PostScript printer. As far as I know all the printers on the PWF are PostScript printer but watch it.
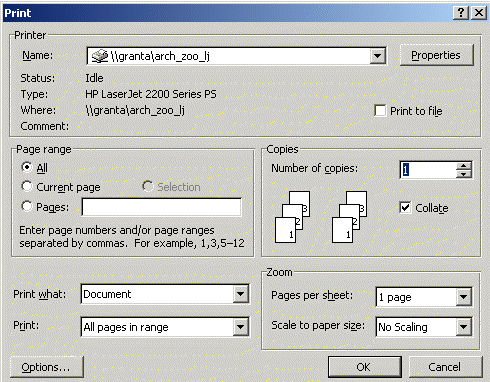
Click the Printer Properties button:
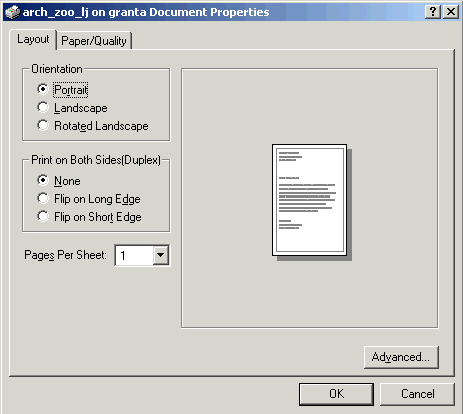
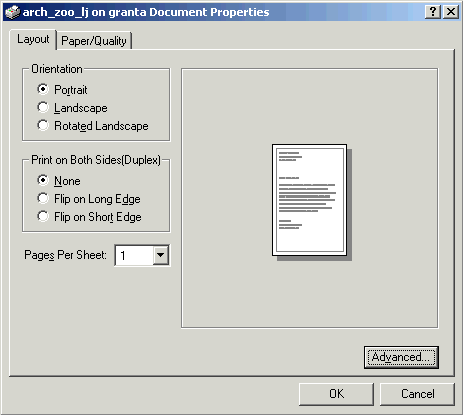
Click the Advanced button:
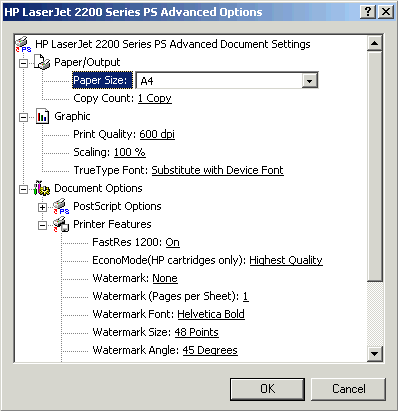
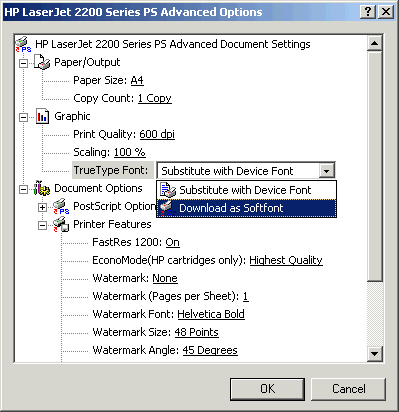
Set the TrueType Font option to `Download as Softfont’ (by default it is set to `Substitute with Device Font’):
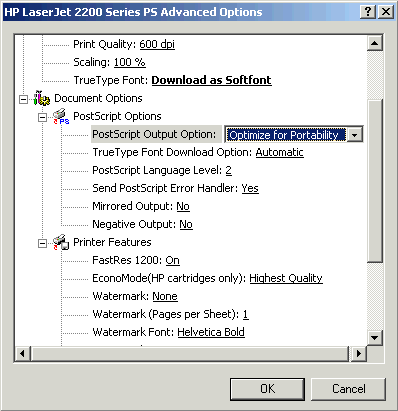
Under PostScript options set PostScript Output Option to `Optimise for Portability’ (by default it is set to Optimise for Speed). Then Click OK:
Click OK again to return to the Print dialogue box:
Important: Now place a tick in the box labelled `Print to File’. Then click OK.
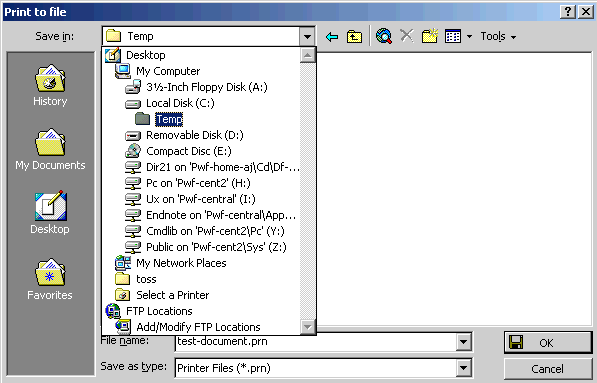
You will be prompted to Save the print file somewhere. Save it in a temporary location and giove it a sensible name:
Using the mouse, click on the Start button in the bottom lefthand corner of the screen:

Choose PWF Programs:

Choose Utilities:

Choose Ghostview:

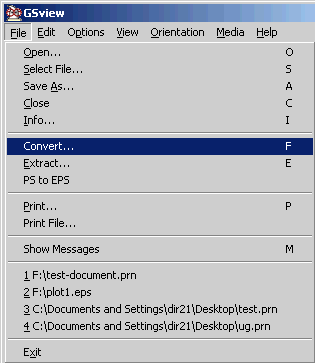
Ghostview starts:

Go to the File menu and choose Convert:
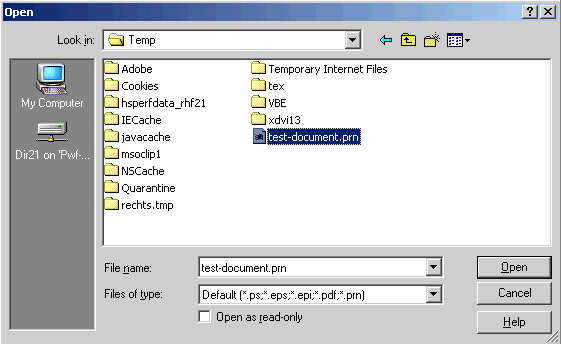
You will be prompted to select a file to convert. Find the print file you have just created in the steps above:
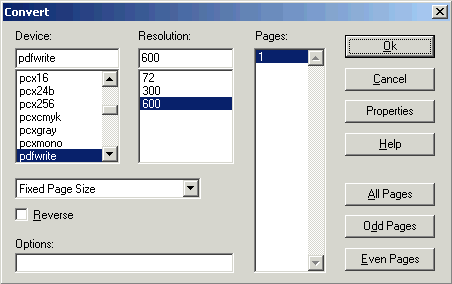
The convert dialogue box appears. Set the Device option to `pdfwrite’ and then click OK:
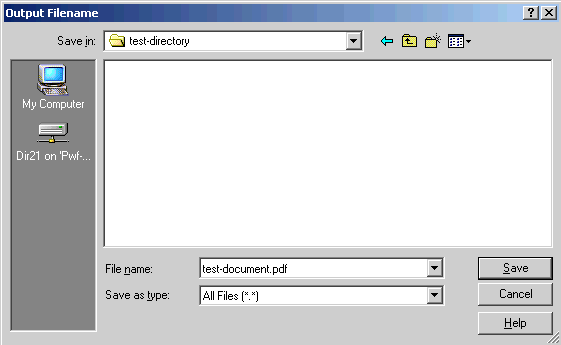
A dialogue box appears to ask where you would like to save the PDF file that will be created. Provide a sensible answer:
All being well, a PDF file will be created. Open it in Acrobat Reader and check it. Then delete the temporary print file you created.
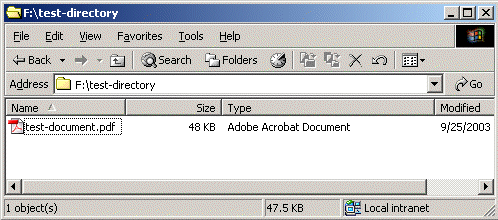
You can see the results here, just to prove that it works.