Computing
How to Produce a Mail Merge using Office XP on Department PCs
Introduction
This document describes the process for doing a mail merge. It is not the only way to go about it, but once you have mastered this method, you can explore the other approaches.. You can always obtain the latest version of this document from: http://www.arch.cam.ac.uk/comp/ac065/
The first thing you need is a database of names and addresses in a Microsoft Excel file. You can download an example Excel file here:
If you use the column headings shown below you will find that life is very much easier. If you already have the addresses in an Excel file, change the column headings to match those shown below. Simply leave blank and columns that you consider irrelevant.

You cannot have spaces in the column headings. You just can’t. Even if you don’t intend to use that particular column in your Mail Merge. You can’t have spaces in the column headings. The Mail Merge will appear to work, but things will be subtly broken. You can’t have spaces in the column headings. Thus, FirstName is an acceptable column heading. First Name is not. You can’t have spaces in the column headings.
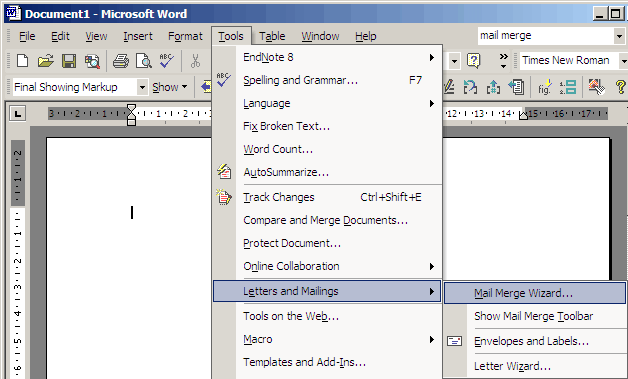
Once you have prepared your database in Excel, start Microsoft Word, then go to the Tools menu and choose Letters and Mailings then Mail Merge Wizard:
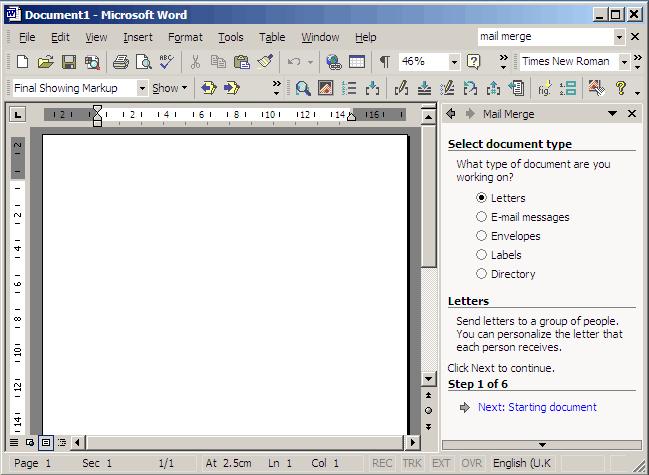
The Mail Merge wizard starts in the right hand part of the screen. Select Letters and then click Next: Starting document:
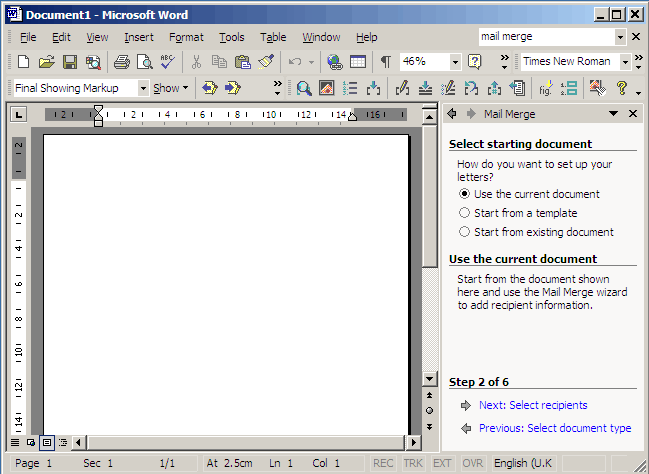
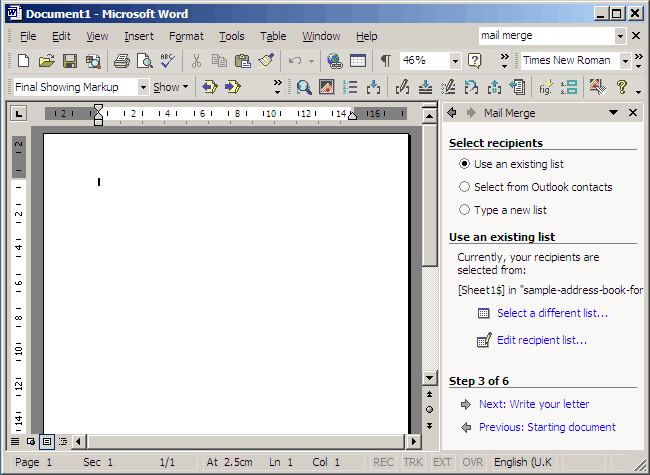
The next question is about the letter that you are going to send out. You may want to open a pre-existing letter, or a letterhead or something, but for the purposes of this demonstration I’ll assume that you don’t want to, so simply select Use the current document and then click Next: Select recipients:
You want to use the list of recipients in your Excel file, so select Use an existing list and then click the Browse button:

Find the location of your Excel file containing names and addresses, select it and then click Open:

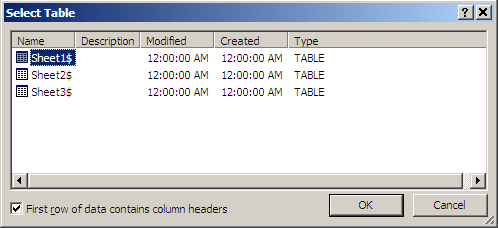
Select Sheet1$ (unless you know otherwise), ensure that there is a tick in the box labelled First row of data contains column headers, then click OK:
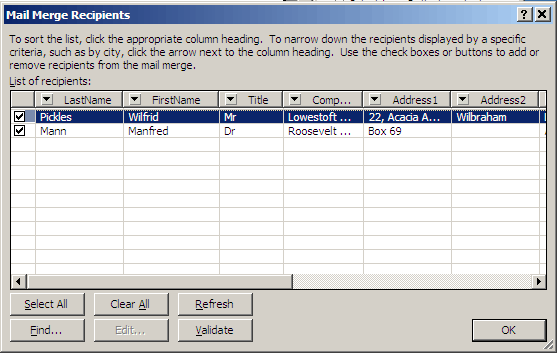
Select the people to whom you wish to send the letter (by default they are all selected—see the column of tick boxes down the left hand side of the list), then click OK:
You will be returned to the Mail Merge wizard. Click Next: Write your letter:

Click on Address block:
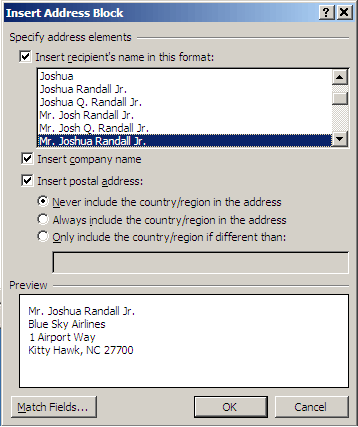
Select a format for the recipients’ names that pleases you:
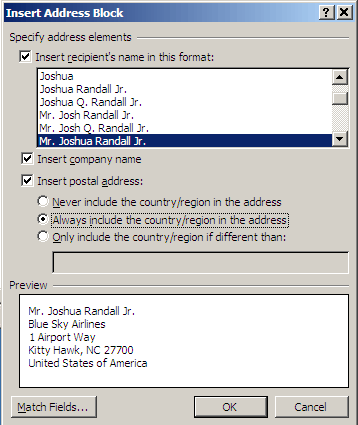
You may want to include the country/region in the address as shown below. When you have chosen all the options that you require, click OK:
You will be returned to the Mail Merge wizard and you will see that a placeholder has been inserted into your document.

Move the cursor to the next line and then click on Greeting line:

Choose a format for the greeting line then click OK:

You will be returned to the Mail Merge wizard and you will see that another placeholder has been inserted:
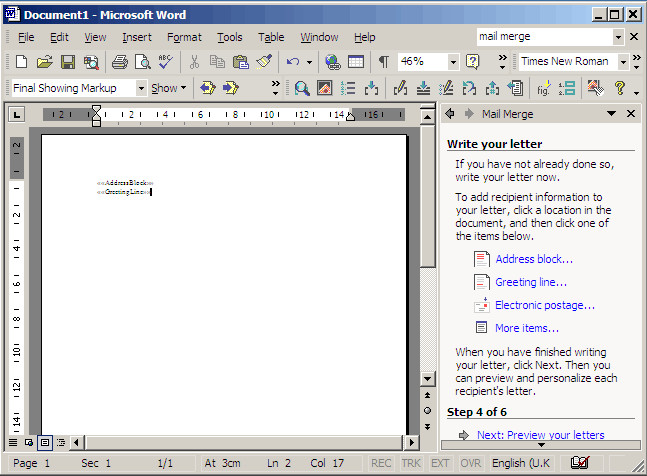
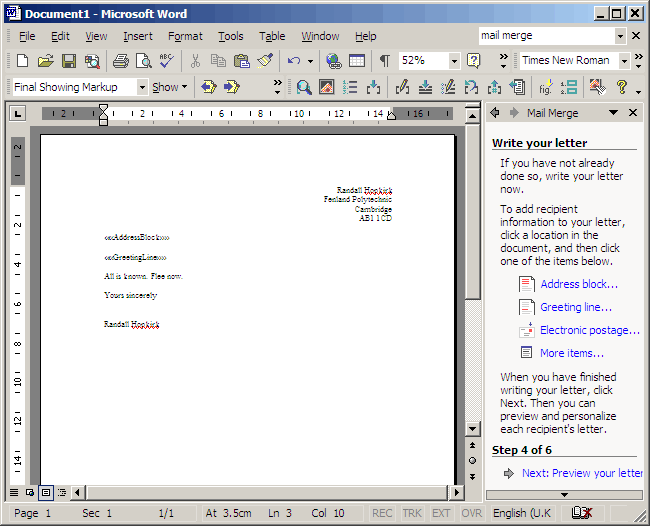
Now write and format your letter. When you have finished doing so, click Next: Preview your letter:
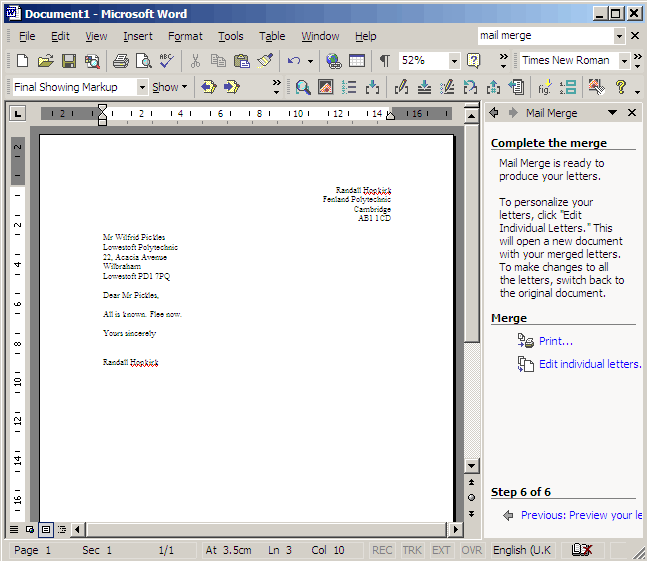
You will now see what one of the letters looks like. You can view each of the letters (to check the addressing) using the arrow buttons in thge Mail Merge wizard. Click Next: Complete the merge:

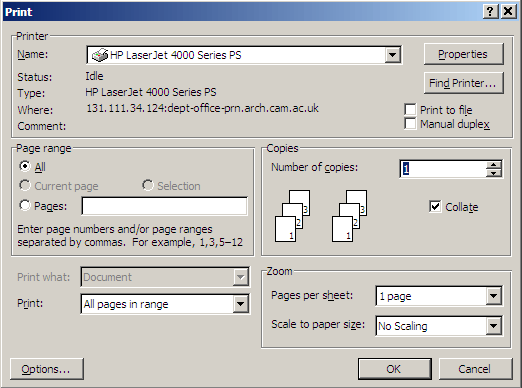
Click Print:
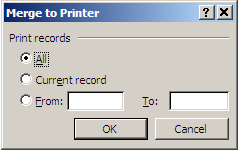
Assuming that you want to print all of the letters that you have prepared, select All and then click OK:
Choose a printer, click OK, collect your letters from the printer.