
Computing
How to use the Department photocopier as a scanner
Introduction
This document describes how to use the Department photocopier in the Faculty Building as a scanner. You can always obtain the latest version of this document from: http://www.arch.cam.ac.uk/comp/ac096/
Introduction
The photocopier can be used to scan one or more images, resulting in one JPEG image per scan, or it can be used to scan a series of pages, resulting in one PDF file containing all of the scans.
By default the photocopier will scan single images to JPEG files.
Preparation
You will require the following:
- A copy of these instructions
- A USB memory stick
- Something to scan
Scanning individual images/pages
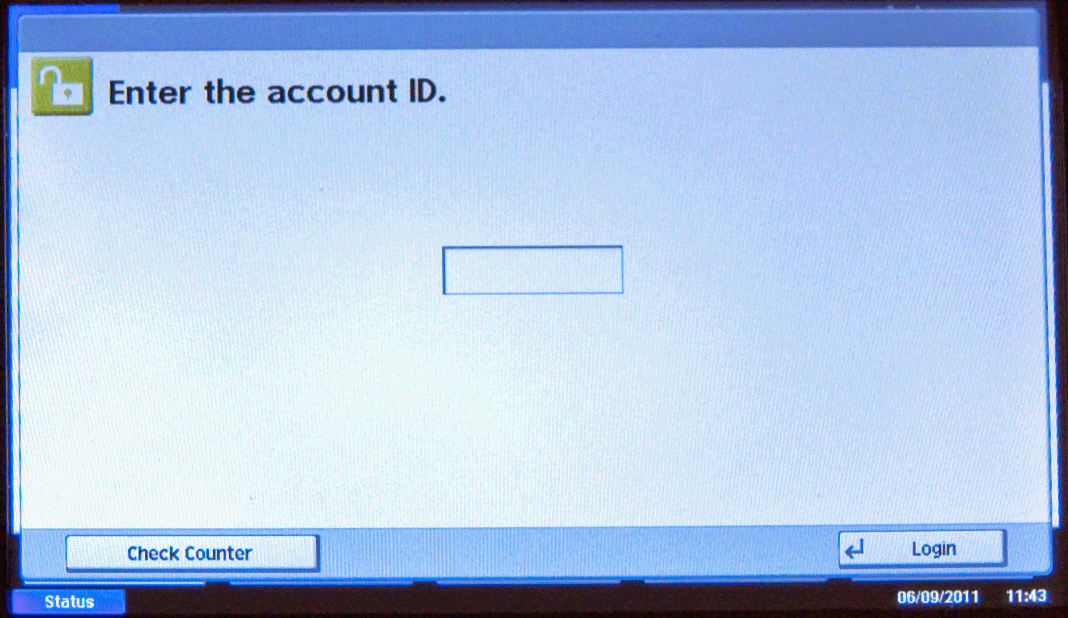
When switched on the photocopier presents a login prompt thusly:
Log in to the photocopier:
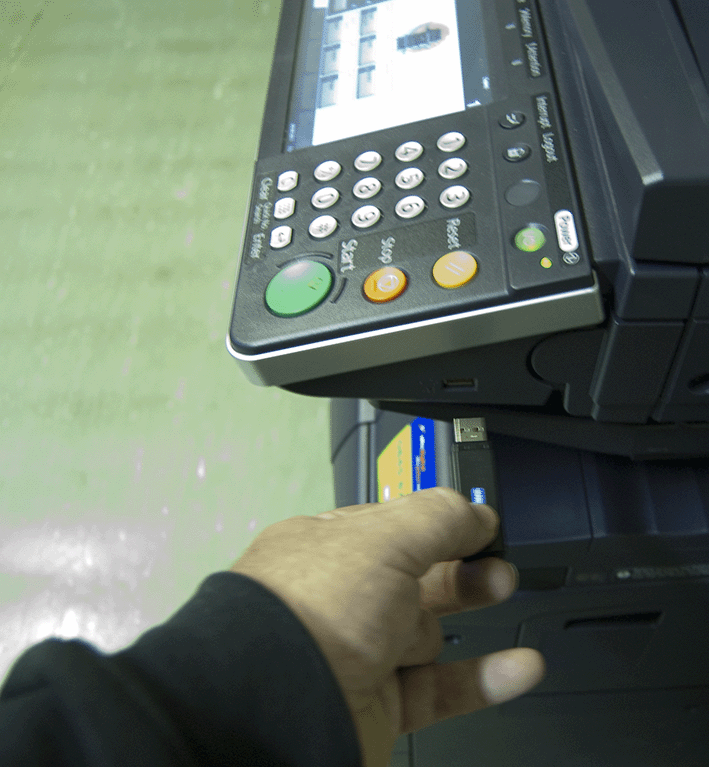
Connect your memory stick to the photocopier, using the USB slot on the right-hand side of the photocopier:
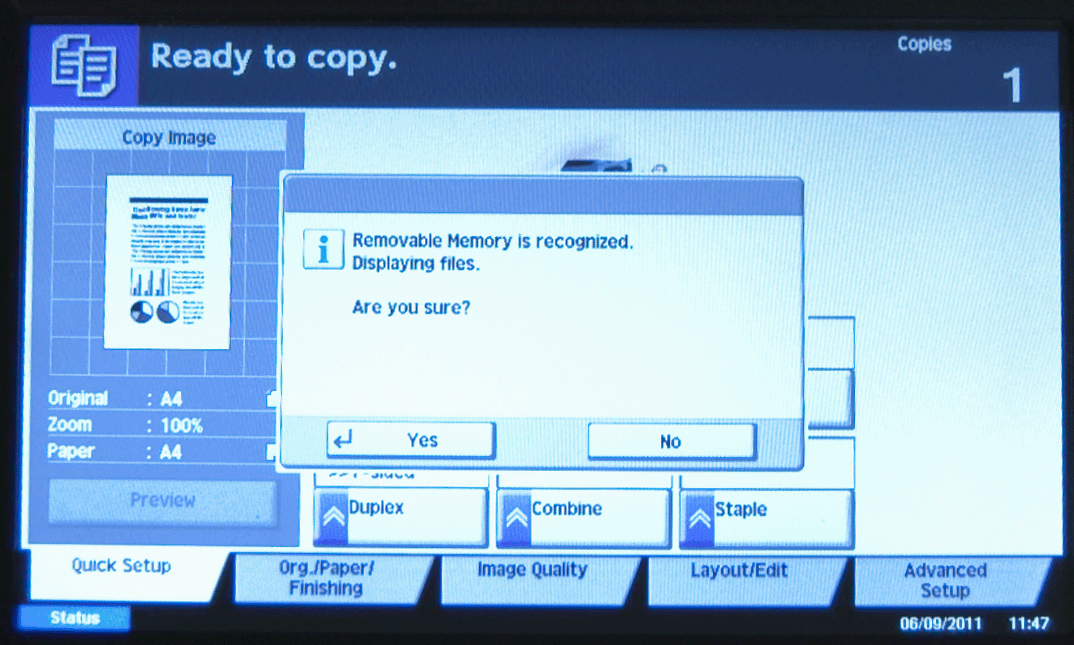
You will be prompted `Removable memory recognised. Displaying files. Are you sure?’: Say `Yes’.
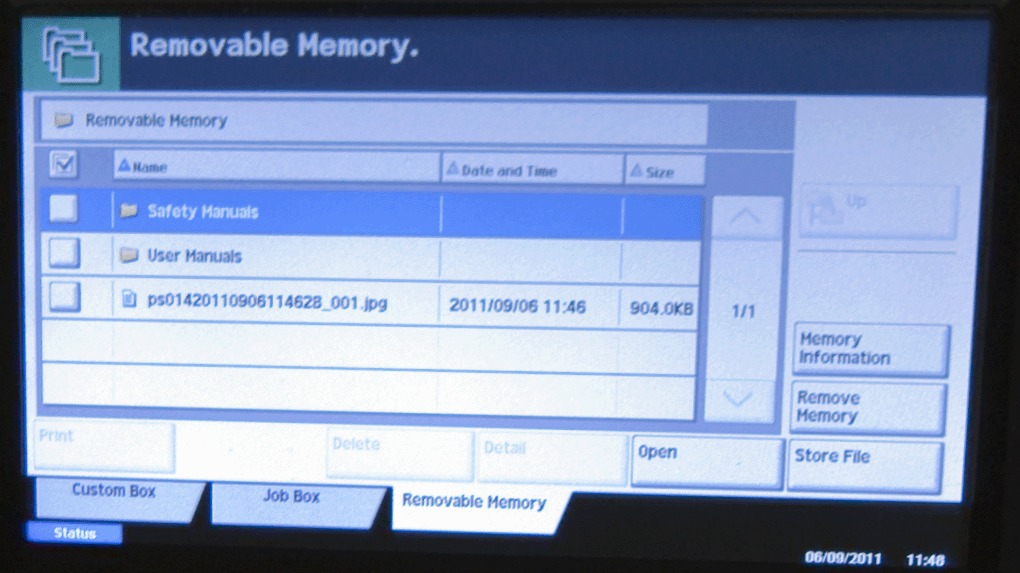
You will be shown the existing contents of your memory stick:
Press the button labelled `Document Box’:
Press the button labelled `Store File’:
Place your original document on the photocopier in the usual way.
Press the big green `Start’ button:
The original is scanned and written to your USB memory stick. To scan another image, press the `Store File’ button again, insert the next original, and press the big green `Start’ button. Repeat until replete.
When you have finished scanning, press the `Remove Memory’ button, say `OK’ to the warning message, remove your memory stick, and press the `Logout’ button to end your session.
Remember to remove any original documents from the photocopier.
Scanning documents to PDF
Log in to the photocopier:
Connect your memory stick to the photocopier, using the USB slot on the right-hand side of the photocopier:
You will be prompted `Removable memory recognised. Displaying files. Are you sure?’: Say `Yes’.
You will be shown the existing contents of your memory stick:
Press `Store File’:
Press the button labelled `2-sided book original’:
Press `More’:
Choose `1-sided’, `2-sided’, or `Book’ as appropriate.
Choose the `Functions’ tab:
Press the down arrow to go to the second screen of functions:
Press the `File Format’ button:
Choose `PDF’
Press the `OK’ button:
Insert the original document in the photocopier and press the big green `Start’ button:
When the photocopier has done its thing, turn the page or insert the next page and press the big green `Start’ button:
Repeat until replete.
When you have finished scanning, press the `Finish Scan’ button. Then press the `Remove Memory’ button, press `OK’ and then press the `Logout’ button to end your session.
Remember to remove any original documents from the photocopier.